


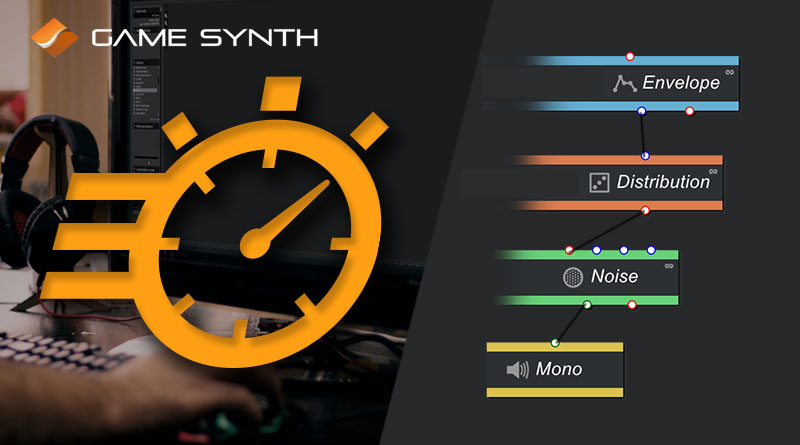

In this post, we describe 10 easy ways to patch faster in the Modular model of GameSynth. Want to go fast? Then let’s jump into it!
1Going Modular

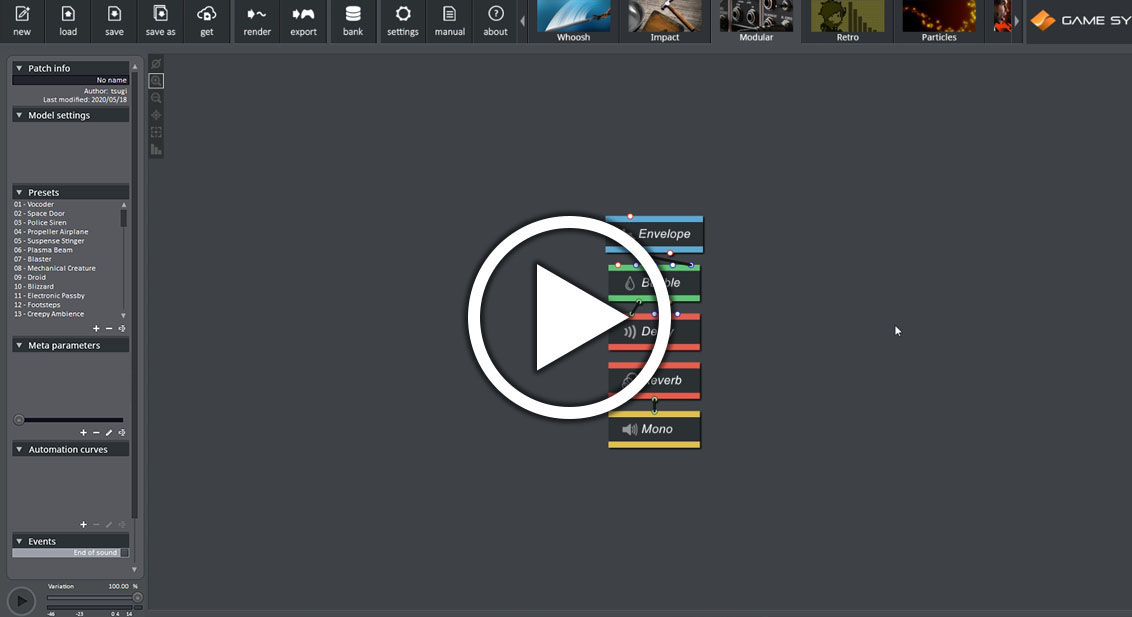
If, like some of us, you spend most of your time in the Modular, you may want to start GameSynth right into it. To do that, go to the Settings window. Check the “Do not start the Project launcher” option. Then, for the Default Model, select Modular. The next time you start GameSynth, it will open directly in the Modular, without you having to click a single time!
Note that if you are editing another type of patch and want to quickly switch back to the Modular model, you can also press the F3 key!
2Getting inspired
What a better way to get your creative juices flowing than having an unlimited supply of examples? Each time you press Ctrl+P, the random patch generator will create a new patch for you – one that is structurally correct and will actually play a sound! You can quickly get a lot of new ideas and maybe even find the basis for your future patch this way!
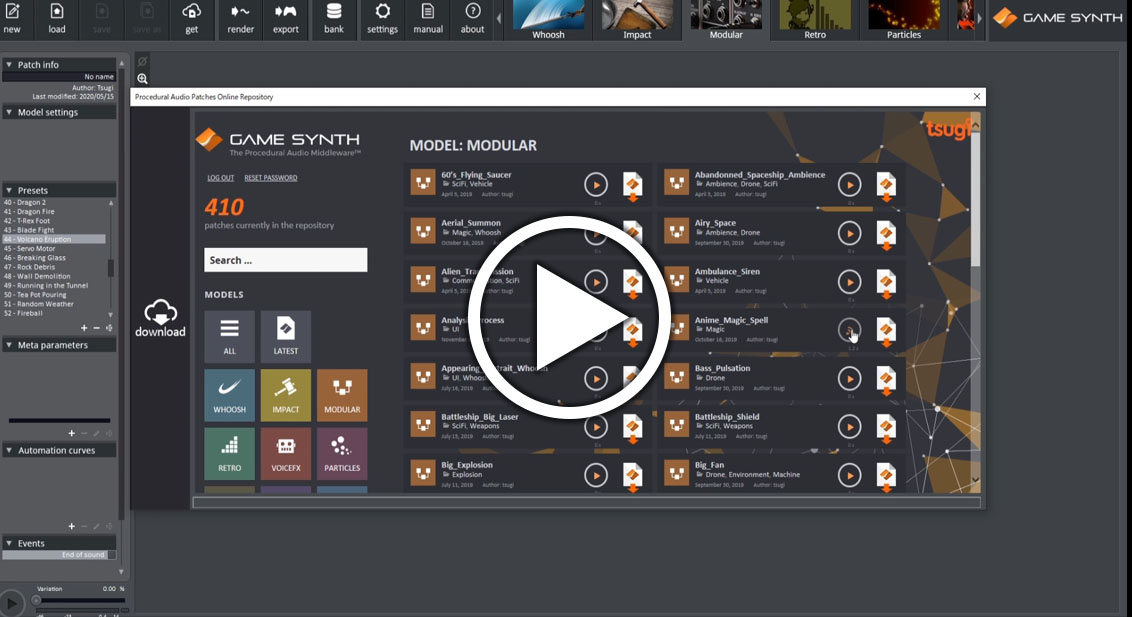
You can also hit Ctrl+W to connect to the online patch repository. Hundreds of patches are waiting for you, ready to kickstart your inspiration. In the Models section on the left, click on Modular to only display the modular patches.
3Adding modules
The Modular model offers a large collection of modules. Consequently, it can take some time to get to the module you want through the context menu! The Quick Access feature removes one step by opening the context menu of the 5 different types of modules instantly when you press G (Generators), P (Processors), C (Control), L (Logic) or O (Outputs).
When adding modules this way, you will notice that the mouse pointer also automatically moves under the new module, ready to add another one!
Note that some basic modules also have shortcuts. These shortcuts are displayed next to the name of the module in the context menu and listed in the Keyboard Shortcuts annex of the user documentation. They follow the pattern Crtl + M + letter. For example, to add a Gain module, press on Ctr + M and then on G.
4Connecting modules
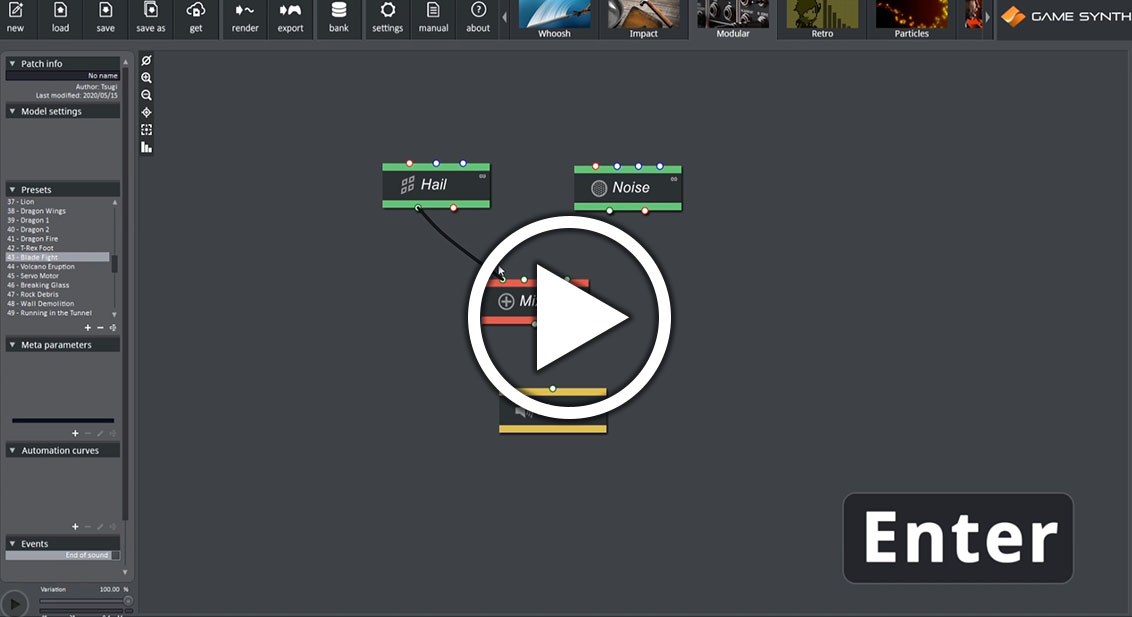
Connecting modules can be fastidious and take some time as you must click on relatively small plugs. However, if you press Enter while connecting a wire, GameSynth will automatically attach it to the closest input plug, finishing the work for you in no time!
Even better, an auto-connect feature is available. Select “Enable / Disable auto-connect” in the context menu to enable / disable it. It will automatically connect new modules to the ones already in the patch based on proximity, type, function and even your patching history! Indeed, if it has the choice between two plugs and all the other conditions are the same, it will select the one you connect to the most frequently when patching manually.
By combining (3) and (4), your patching can become blazing fast!
5Using samples
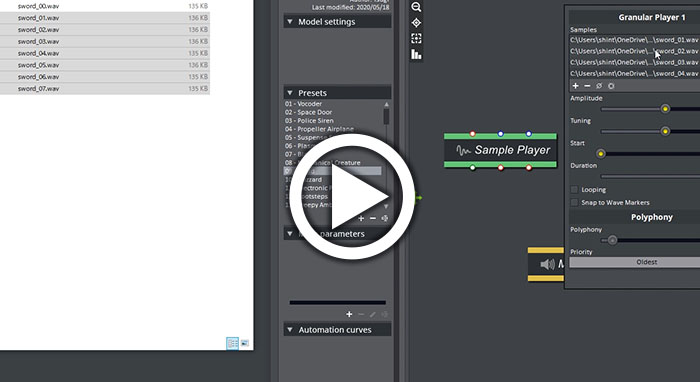
To use sample playback in a Modular patch, you need to add a Sample Player module, open its properties window, and select the wave file you want to play. You can do this a lot quicker by simply dropping a wave file from Windows Explorer onto the patching area. A Sample Player module will automatically be added to the patch, with the right sample already selected.
If you drop multiple wave files simultaneously, a Granular Player module will be created instead. The files will be added to the sample list of the module, and all will be assigned the same weight of 0.5 (so they will all have the same probability to be played when the module is triggered). So much faster than configuring everything yourself!
6ADDING CONTROL
Since we are on the topic of drag and drop, you can also directly drag and drop meta-parameters , automation curves and events from the patch information panel onto the patching area. The corresponding modules will be automatically created, and the right objects selected. No need to insert the modules manually, open their properties windows and select the right meta-parameter, automation curve, or event.
7Creating variations
With many modules on the patching area, adding random ranges to the parameters in order to generate variations may be time-consuming. Fortunately, you can use the “Add random ranges” command of the context menu to do that instantly. Select the module(s) you want to add variations to, use that command and you are done! If you don’t need the random ranges anymore, you can use the “Clear random ranges” command from the same context menu.
8Adjusting durations

Often, you will want some of the modules in your patch to have the same duration. For example, you may want to mix several generators together to create a more complex timbre, or you may need to assign envelopes / automation curves to control different parameters of the patch. Instead of editing the duration of each module manually, you can select them and use the “Match durations” command of the context menu. This is especially useful when you are in the tweaking phase and are often adjusting the patch’s duration.
9Editing modules

By default, the Modular model will show the parameters of the last selected module on the right of the screen. Sometimes, it may be easier and faster to see multiple modules at once, for example to compare their parameter values: do they have the same loudness or duration? If they are detuned oscillators, what are their pitches, relative to each other? In the Settings window, you can select the “Display module parameters in floating windows” option. Then, every time you double-click on a Module, a new window with its parameters will be displayed.
10Embedding Patches

When you want to create complex patches, no need to waste time reinventing the wheel or to cram dozens of modules on your screen. Save some time and reuse existing patches as components! You can use a Patch Player module to embed another Modular patch – or any other type of patch for that matter – in your current patch. If the embedded patch contains meta-parameters, they will appear as parameters of the Patch Player, allowing you to control them like in any regular module.
11Debugging Patches

Wait, didn’t we say 10? Well, like all good knobs go to 11, this list has an extra entry. Sadly, sometimes a patch just does not sound as we expected on the first try! A good way to quickly understand what is happening and to debug it is to visualize the signals going through the wires. Click on the visualizer icon in the top-left corner of the patching area. The Modular model offers two visualizers, that can be used either as oscilloscopes or as spectrum analyzers. Having 2 visualizers means that you can compare the input and the output of a module for example, which is very handy!
That’s it! You are now the fastest patcher in the West and we pity the poor soul that will get wires crossed with you (yes, pun intended).
