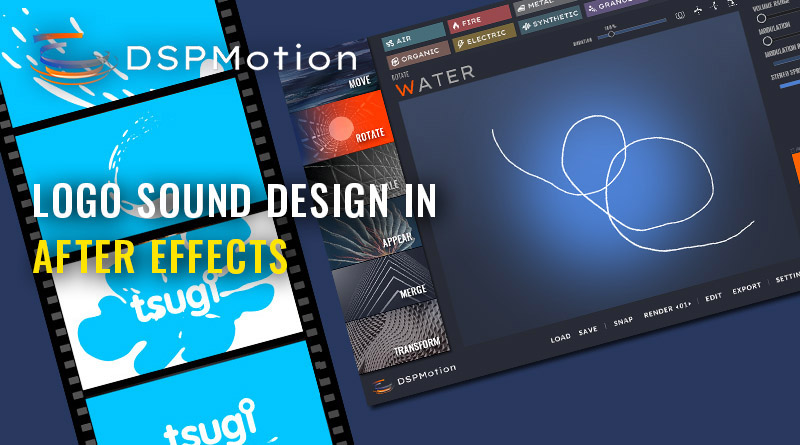
In this post, we use DSP Motion to design the sounds of an animated logo created in After Effects. First, let’s see the final result before diving into the process.
The sound design of the logo consists in 4 layers, all created by drawing sounds in DSP Motion. They were then imported directly in After Effects, and no extra processing was used. You can download all the files at the bottom of this page.
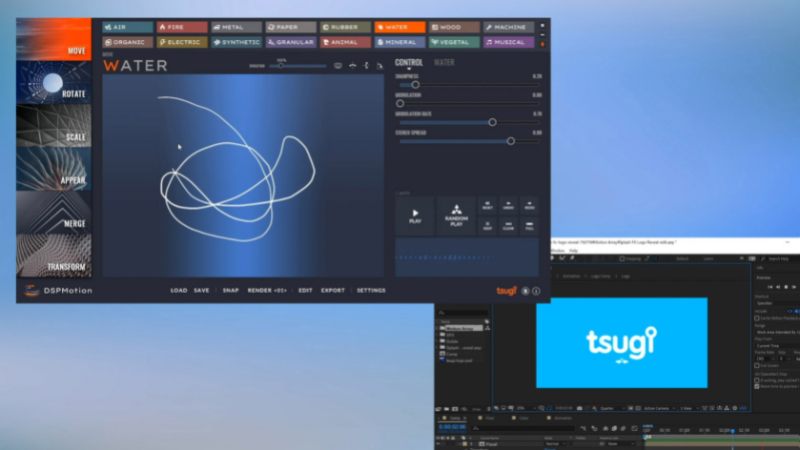
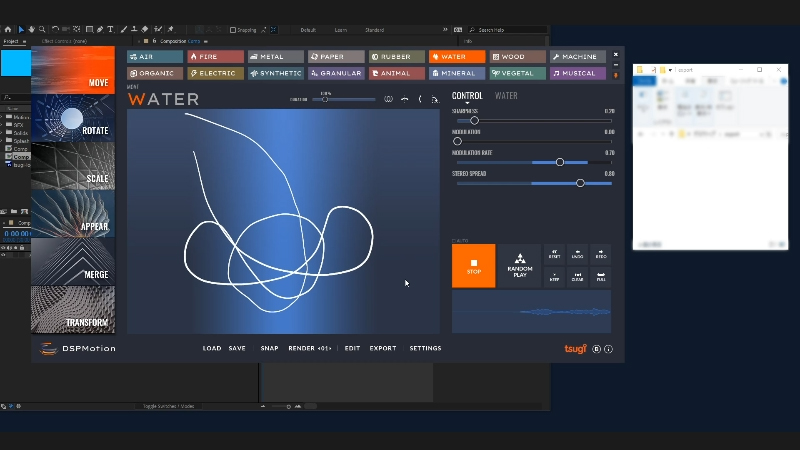
For the first layer, we drew our sound by following the water movement as closely as possible. This gave us the base of the final sound. The Water shader of the Move motion was an obvious choice.
Tip: don’t forget to click on the pin icon in the top-right corner of the window to make sure that DSP Motion will stay on top when you draw while previewing the video in After Effects. Alternatively, you can render the video and import it in DSP Motion to draw your sounds with synchronized video playback.
Once done, we exported the sound to After Effects. To do that, first make sure in the Settings window that the sample rate in DSP Motion corresponds to what you want for your project. Then, simply hit the render button to save the wave file (make sure that number of files is set to 1 or DSP Motion will generate variations automatically). Finally, drag and drop the resulting wave file onto your After Effects project and create the corresponding clip.
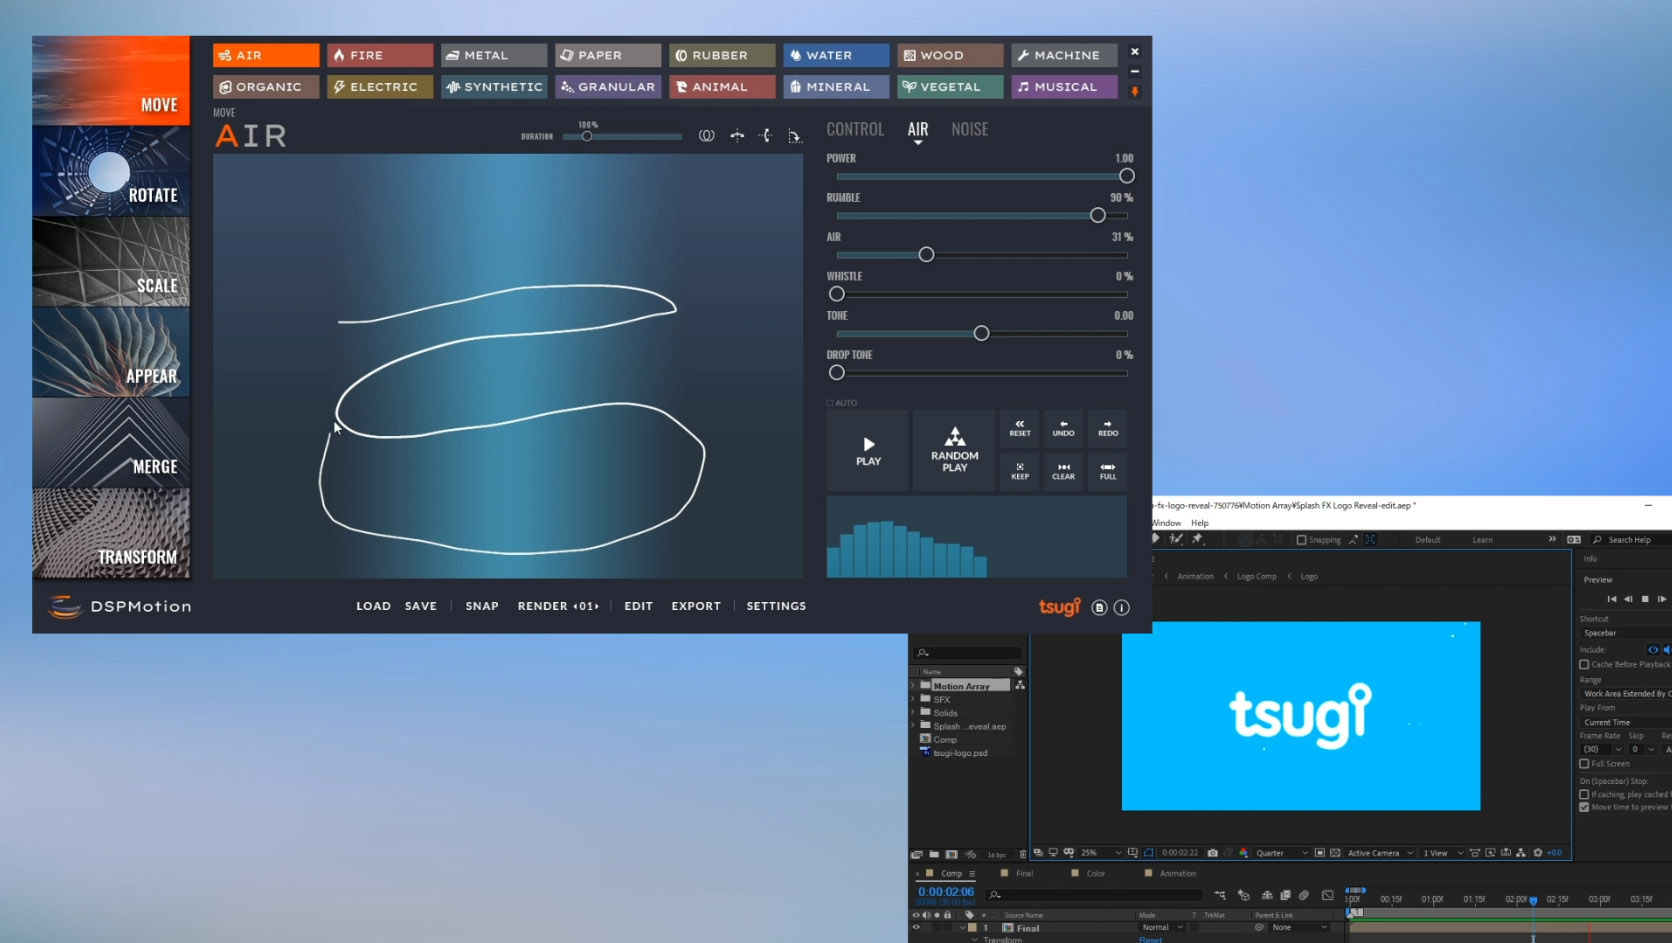
For the second layer, we used the Air shader of the Move motion to emphasize the passby effect of the water. The drawing still follows the movement of the water, although more loosely. We also used this patch to add a bit of emphasis when the tag line (“software for creative”) appears.
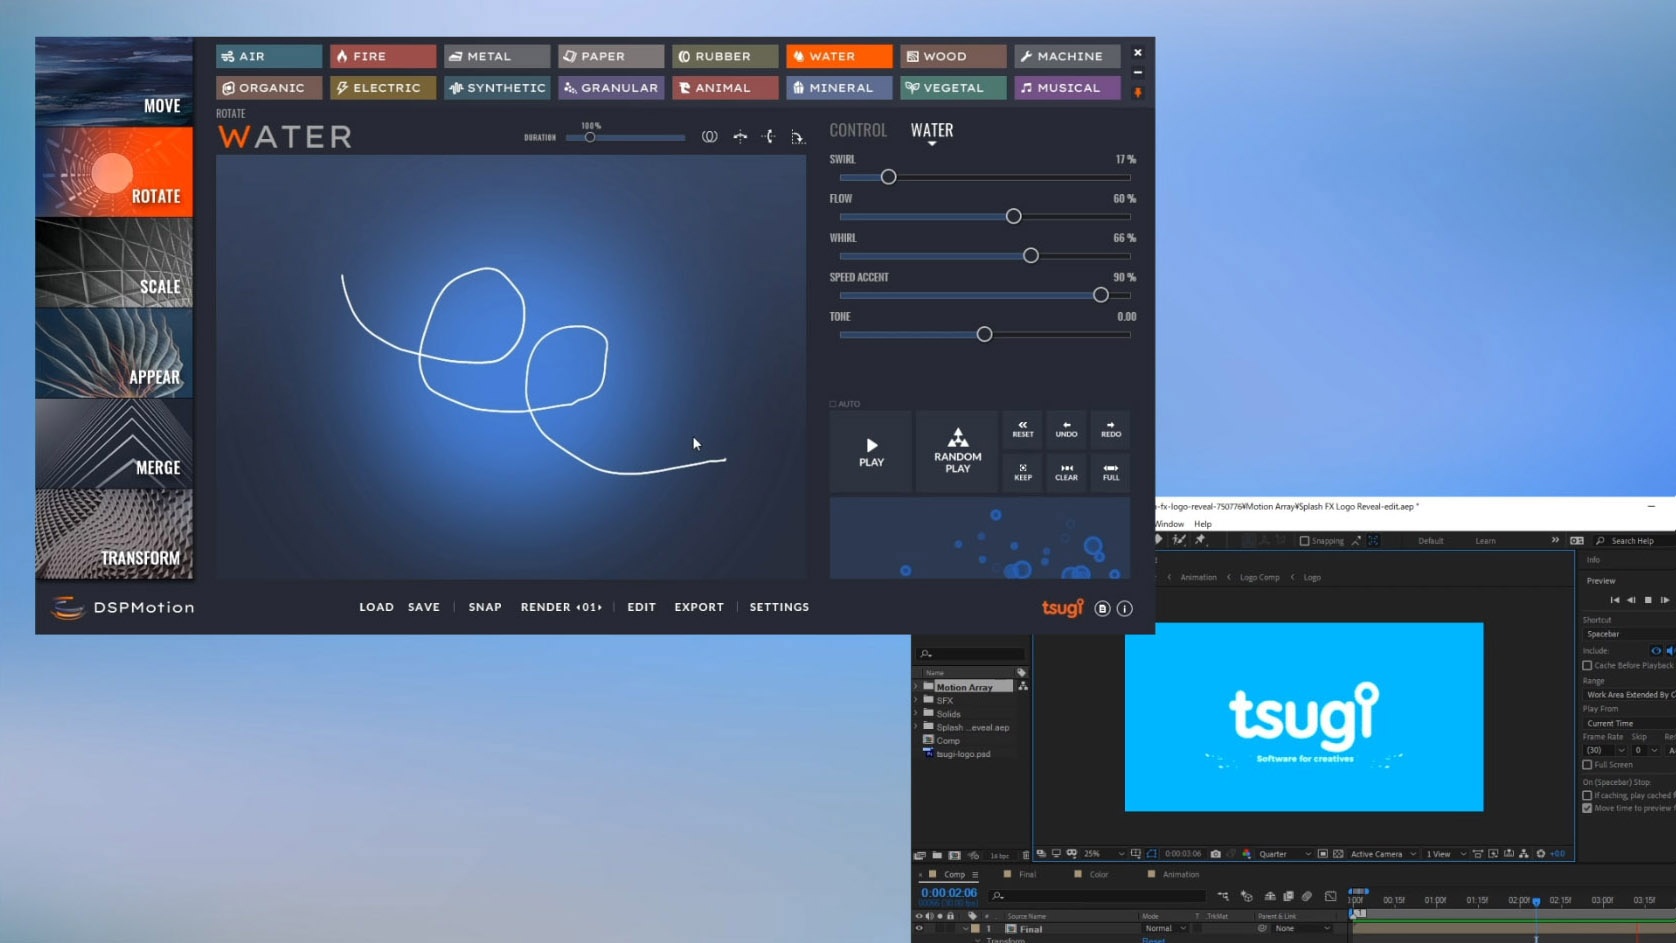
The Water shader of the Rotate motion was used for the third layer. It adds presence to the main splash, as well as a water component to the tag line.
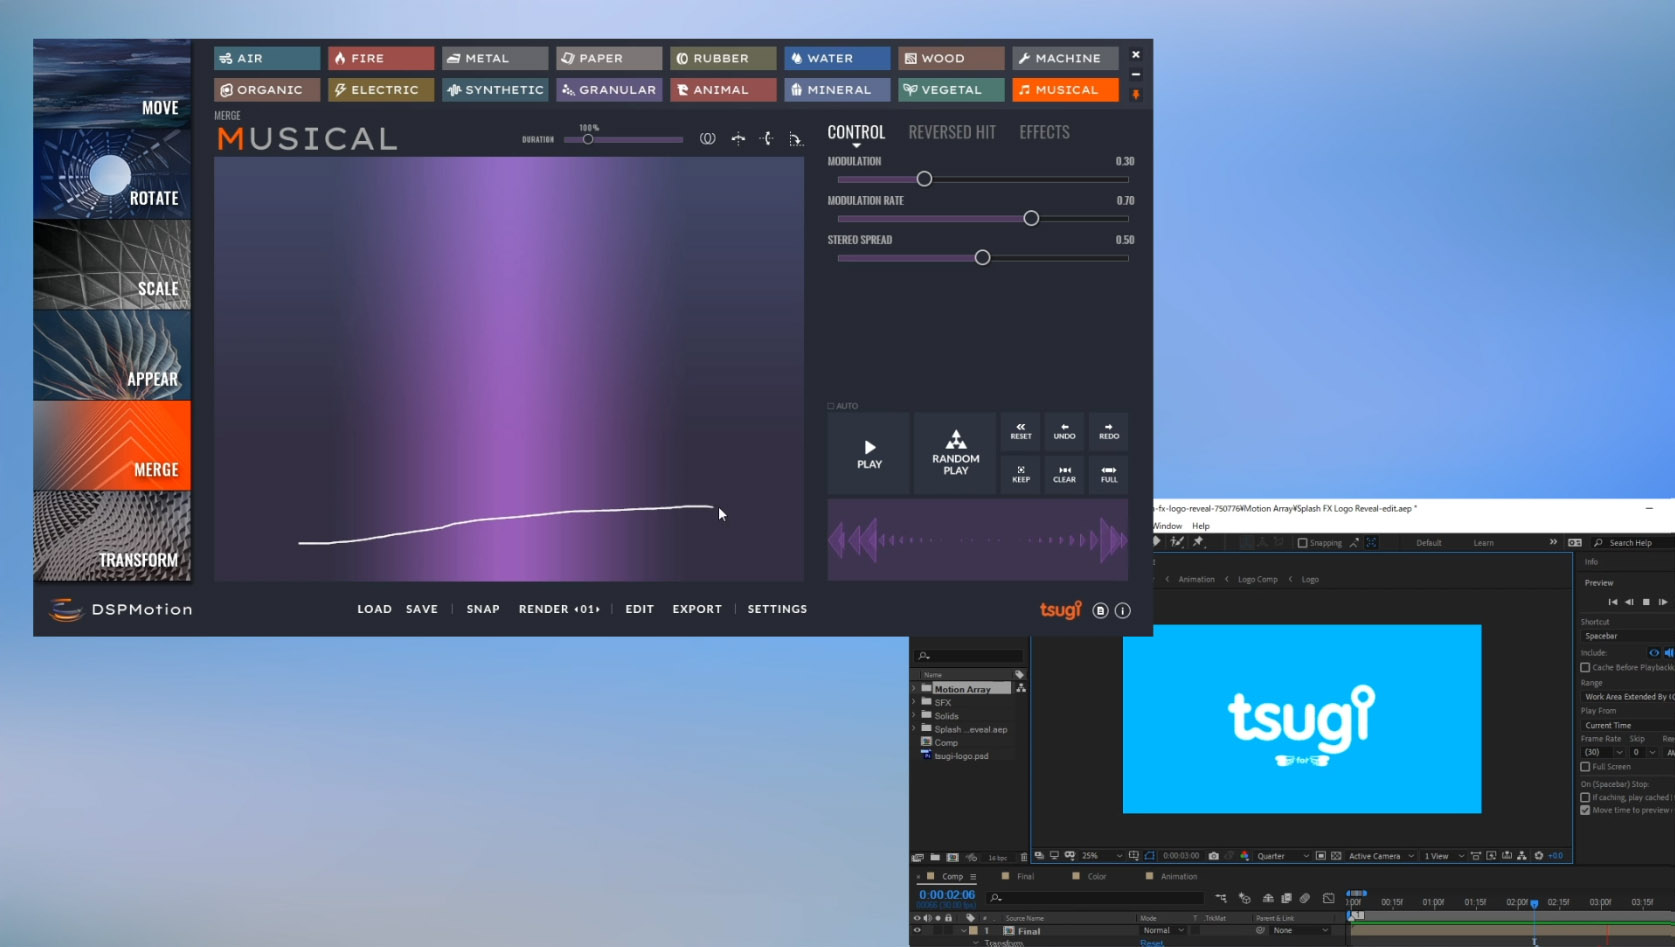
Finally, to create a bit of contrast – and not have a fully realistic sound design -, we drew a last sound with the Musical shader of the Merge motion. This shader was perfect to add some impact to the Tsugi logo apparition, just after the splash.
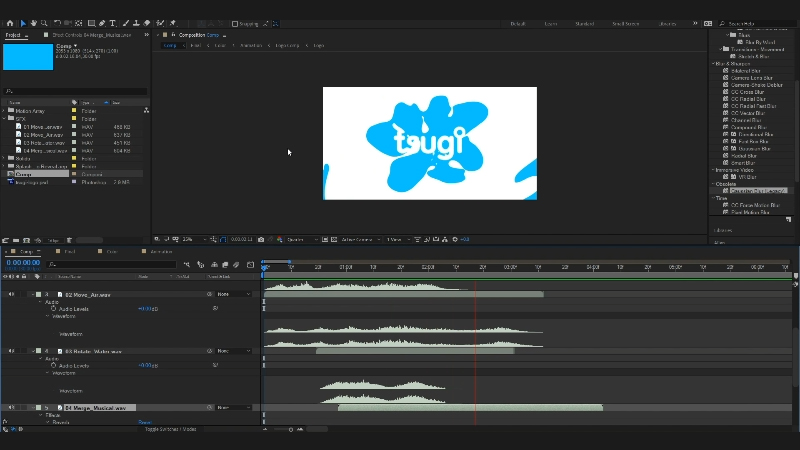
After drawing all the sound layers and importing them into our After Effects project, we adjusted their timing and levels to create the final sound design of the logo.
All the sound layers and the corresponding DSP Motion files are available for download below. The logo animation was based on a template from Motion Array.
For a more advanced example of sound creation for an animated logo, this time in a DAW (Reaper), check this recent post:


