

One of the great strengths of following a procedural approach to sound design is the potential for creating interrelated control. Any individual signal can directly control several granular processes, leading to a singular significant change.
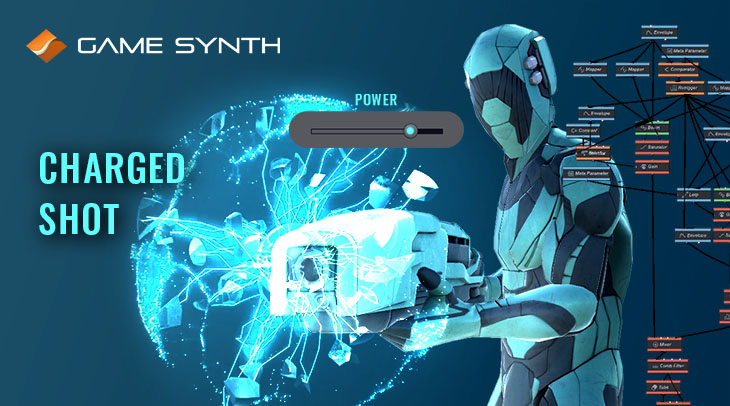
In this patch anatomy, we have created a web of control signals driven by one Meta Parameter and one lead Envelope to simulate the charging and blasting of a sci-fi weapon. The Envelope controls how long the patch should run for, and the Meta Parameter (named Threshold) determines the point at which the build-up should stop, and the release should begin. And as a consequence, the shorter the build-up lasts, the less powerful the release sounds.

Build-Up
For the build-up, a single Beam component works as the generator. Several Mappers then control the inputs of this Beam relative to the lead Envelope. This approach ensures that changes in timing are reflected across all parameters. Saturation is also applied through this method, resulting in an increasingly rich signal over longer durations.

Release
The release portion uses another Beam generator, and with similar settings. Using similar generators for different processes can help the final product sound more cohesive. The primary difference
between the build-up and release phase is how the control signals are applied to each. In the case of the release, pitch modulation is applied via an LFO to create a flutter effect. Also, applying an inverse map of the Meta Parameter to the slope and width inputs creates a muted effect at lower values – scaling to match the intensity of the release. To further sell the effect of an explosive laser cannon, a Thunder source is layered on top of the Beam.
For both the Beam and Thunder source, enveloping is applied via a Gain module. In the first instance, two Envelopes with the same shape but different lengths are faded between using a Lerp. This process happens before the Saturator to create a more natural release effect. In the second instance, a single Envelope is used to control the Gain, with the Saturator applying the actual loudness. This process happens after the Saturator to rein in the noisiness of the explosion.

Logic
A Comparator is the primary logical control for this patch. By checking when the Envelope has exceeded the Threshold value, the patch can automatically switch from the build-up to the release phase. Using a Retrigger module after the Comparator with Count set to 1 ensures that this comparison only triggers once.

A Selector controlling a Gain module is then used to fade out the build-up. By having a Constant value of 1 applied to the first input, playback starts unobstructed. Then, when a trigger has been issued, the output is quickly faded using a short Envelope.

Finally, all release components are triggered by wiring the output of the Retrigger module to their respective trigger inputs. This setup ensures synchronicity regardless of playback length or threshold trigger interval.
Final Processing
As with traditional sound design, some final processing can help to improve the overall mix. EQ is applied to the release phase to increase the low-end, which helps to sell the explosion. Comb Filter and Tube modules then process the entire mix to add a slight bit of spatial depth. Raw synthesis output can often sound “perfect,” so any processes that impart a spatial effect can help the patch sound more natural. Other modules such as Delay, Reverb, or Cabinet are great candidates for this.