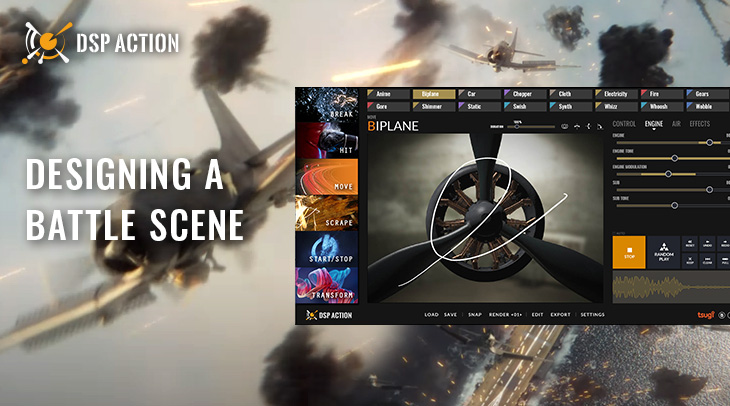

DSP Action makes it easy to create amazing sound effects for high-octane games, animations, and movies, simply by drawing them. It is perfect for battle scenes for example, and in this post we will design the sounds for a short animation about the Battle of Midway, created by CaoMoji.
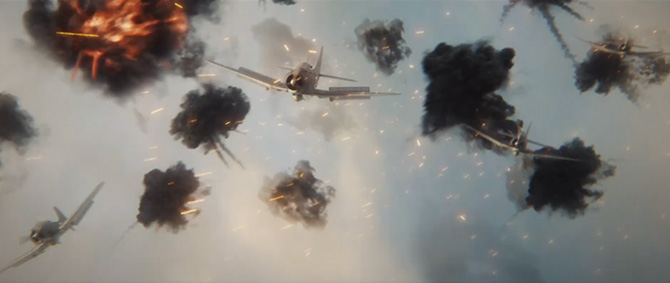
Planes
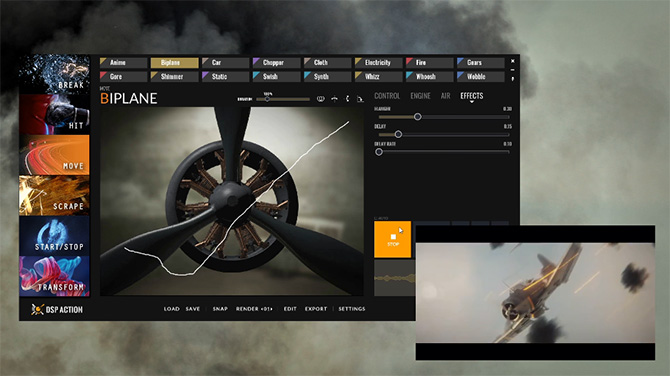
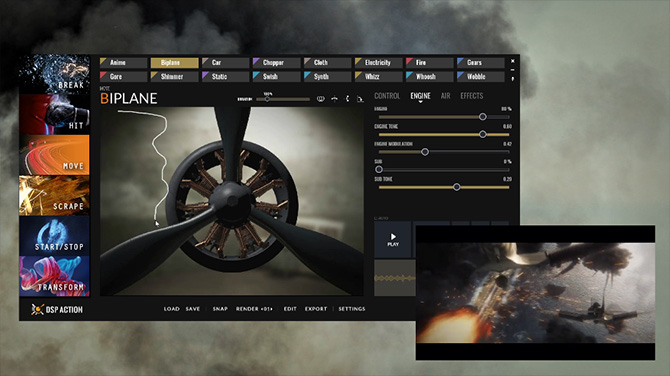
As the planes are the focus of the scene, we will start our sound design with them. An obvious choice to generate the passby sounds is the Move-Biplane patch; we will use it for the main layer. As depicted by the video below, DSP Action makes it very easy to recreate the approach of a plane, simply by drawing from right to left. Once we are satisfied with the movement, we can tweak the synthesis parameters (e.g., the Engine and Air sections of the patch) to achieve the exact sound we are after.
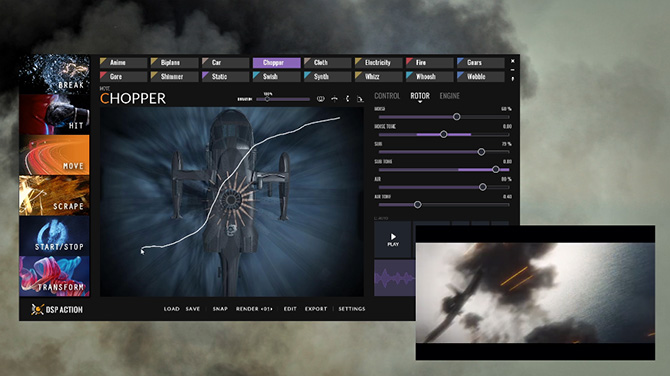
To get a more powerful sound when a plane flies by us, a rumble layer is added with the Move-Chopper patch. Its deep amplitude modulation is very helpful to add presence, although we turn off the resonances of the engine and only keep the air movement, so that its sound doesn’t overlap too much with the main layer. Of course, we could also have used the Move-Whoosh or Move-Wobble patches to add emphasis in the low frequencies.
The same process is used for the two other closest planes, only adjusting the synthesis parameters a bit to give each engine a slightly different sound.
Explosions
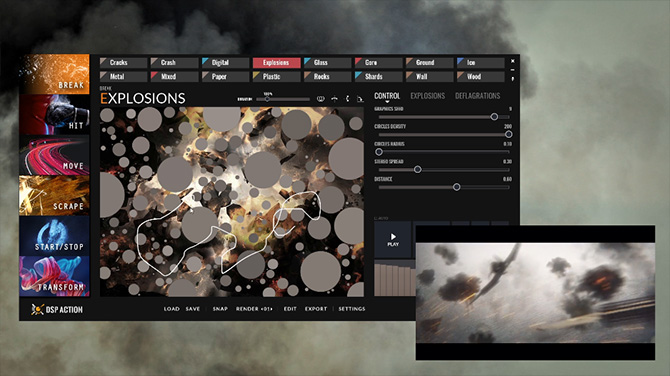
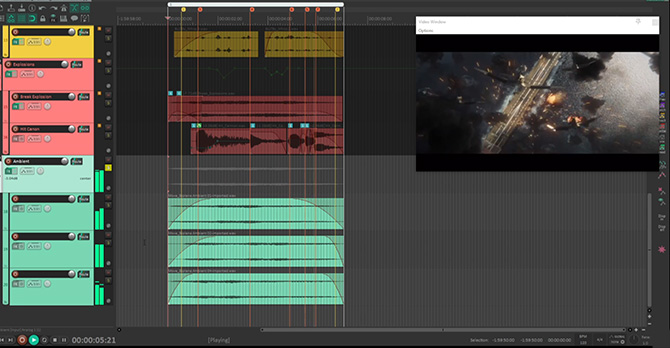
There are a lot of explosions in this battle scene! Instead of trying to recreate each one of them – which could be cumbersome and time-consuming – we opted for a general ambience with multiple explosions in the background, on top of which we added a few detailed explosions (for the closest ones). The circular triggers of the Break-Explosions patch allow us to quickly generate explosions of various strengths (based on the size of the circles) at different locations.
We start by adjusting the graphics parameters of the patch to get a larger number of triggers displayed on the drawing pad. Once this is done, we can easily create the ambience by synchronizing our movements on the drawing pad with the explosions in the video. Since there is quite a lot going on, perfect synchronization is not required. Also, because we are designing the background of the soundscape, we adjusted the Distance parameter to muffle the explosions.
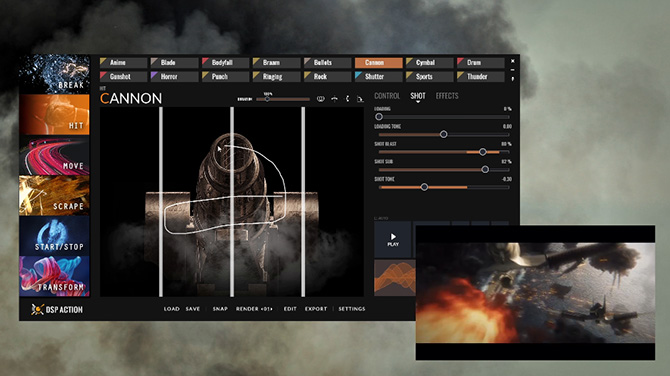
For the explosions in the foreground, we use the Hit-Canon patch to get more impact (after having deactivated the Loading layer). Here again, DSP Action makes it very simple: the canon shots are triggered by crossing the center line, and the synchronization of the detonations with the explosions on screen can be done in a single pass!
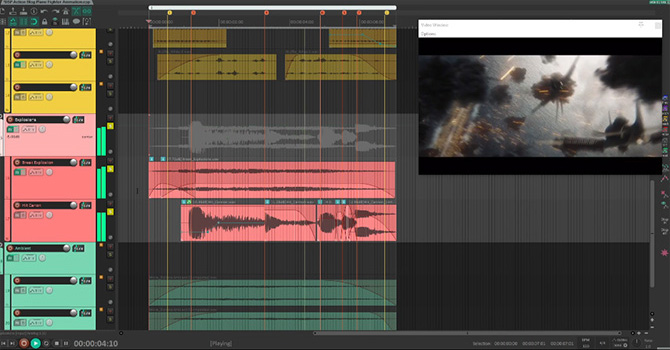
Let’s check the result, after layering the background and the foreground explosions: it seems to work very nicely, and it barely took any time at all!
Weapons
Like for the explosions, a huge number of bullets are flying-by, and it would be cumbersome to try synchronizing all the sounds with the video. We only need to give the feeling of intense warfare, which luckily for us, can be easily done with DSP Action.
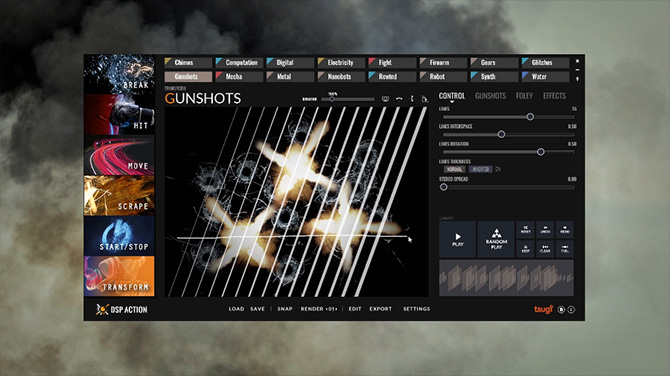
First, we add some machine gun sounds in the background to give more context to all these bullets. Using the Transform-Gunshots patch, we can easily trigger a lot of gunshots by drawing across the lines on the screen. (Tip: if you want to draw a nice steady line, you can also call one of the presets). Then, we assign random ranges to the graphics parameters, in order to generate sounds with a variable number of shots and fire rate. The Distance parameter of the Effect section is also adjusted as we don’t want our gunshots to have too much presence.
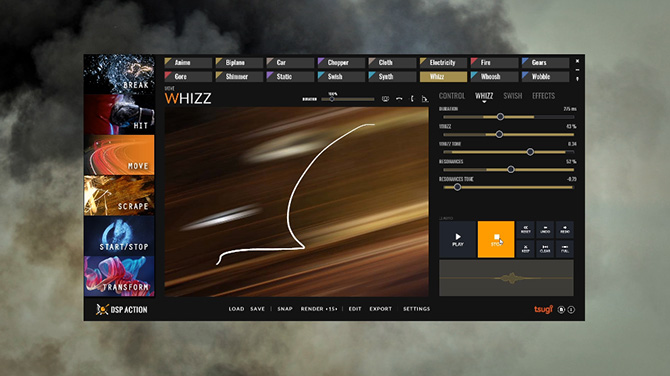
Finally, we select the Move-Whizz patch to design all the flying-by sounds. Here, the goal is to quickly generate a lot of variations. DSP Action proves itself very helpful again, as we just need to assign a few random ranges to the synthesis parameters and can proceed to render all the variations at once! If you want a bit more control on which variations are saved, you can also hit the Random button – or draw a different curve – a few times and then press the Snap button each time you hear something you like and want to keep.
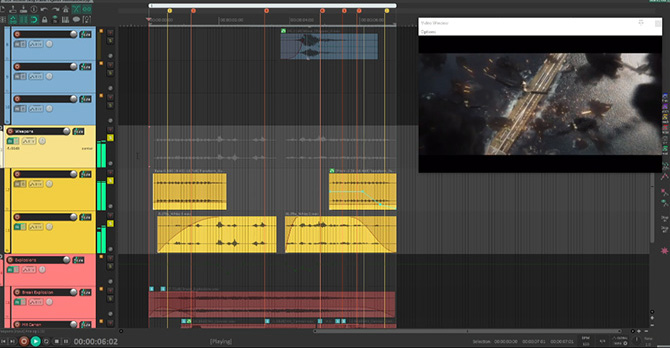
During the editing process, we will scatter all these sound variations a bit randomly.
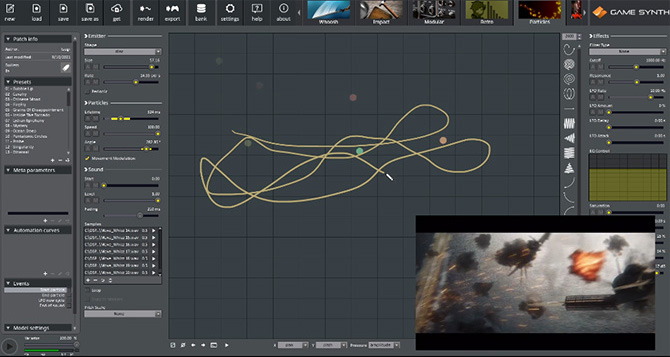
Tip: Using Gamesynth Particles:
If you have GameSynth, you can further speed up this process by using the Particles model! Instead of placing each sound variation individually on the timeline of your DAW, you can import all the variations in the Particles model, tweak a few parameters, and simulate bullets flying everywhere while you draw on the Sketch Pad.
You can listen the final bullets in the video below.
Ambience
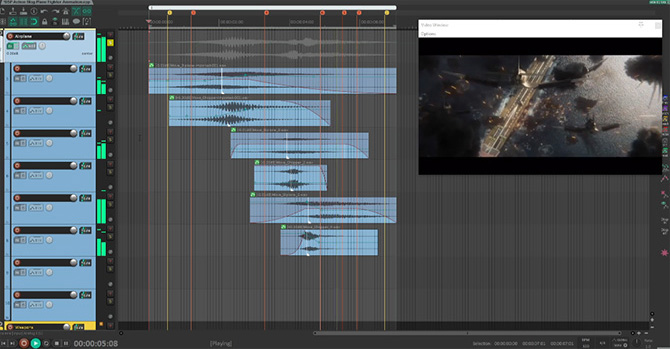
While we created flyby sounds for the three most visible planes, more of them can be seen in the background, so we need to create an ambience layer to reflect this. To do it, we return to the Move-Biplane patch, but this time we draw close to the edges of the drawing pad to get a more distant engine rumble.
We create several versions by using slightly different synthesis parameters and movements, and we layer them to create our ambience.
And voilà! This completes our scene nicely. It is already quite busy as it is, but we could also experiment with adding more elements to the background, like a siren from the Start Stop-Alarm patch for example.
If you like this kind of content, you can also check similar posts for DSP Motion.
We would like to thank CaoMoji for providing this video, which was made with Blender and After Effects. You can see more of his work on YouTube and Twitter.