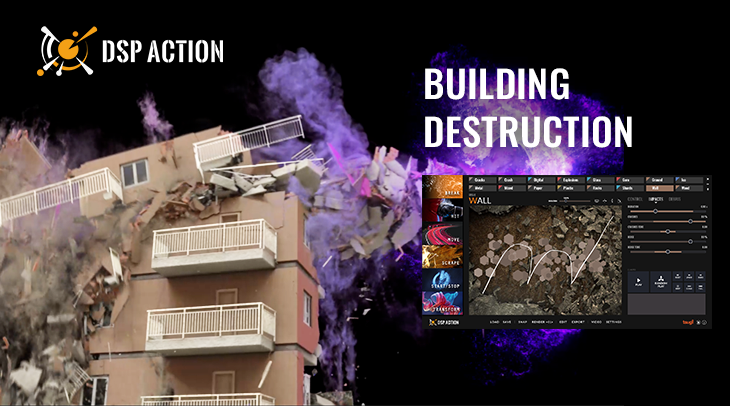
DSP Action makes the creation of dynamic, high-impact sounds easy and fun. It comes with many types of sound generators, including some dedicated to debris and destruction. With just a few strokes with your mouse, it is possible to break, smash and destroy! In this post, we will see how we created the sounds of a collapsing building, as shown in the video below.
Destruction Bed
First, we created a general ambience that gives a sense of destruction and is played during the whole sequence. It does not correspond to any specific events in the video, but by varying where and how we draw in DSP Action, we were able to adjust the density of the debris.
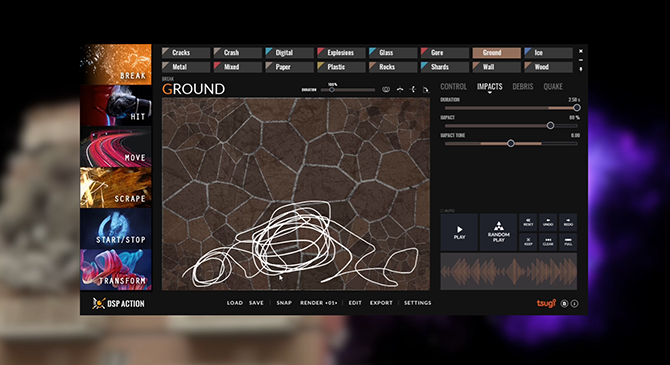
The Break-Ground patch was used as a first layer in this destruction bed. In this patch, the size of the cells determines the impact of the sounds. This allowed us to easily match the most intense moments of the video simply by drawing over the bigger cells.
A second layer uses the Break-Wall patch, which works a bit similarly. In the Impacts section, the Crashes level was lowered, leading to a less impactful and dustier sound that complements well the first layer. Adjusting the Hexagon Size in the Control section can produce a bigger sound or a more modest one depending on your needs.
In DSP Action, not only do the Control parameters allow for the adjustment of the graphics, they also influence how the sound will be impacted when drawing over shapes, lines, or deformations.
Synchronized Events
The next step was to design the sounds corresponding to specific events in the animation. The Break-Mixed patch was used when the front of the building starts to crumble, and then when some of its parts collapse. This patch mixes different materials, allowing us to generate variations: with more Glass Debris and Impacts for the beginning of the sequence, and with more Rocks for the end.
Adjusting parameters, drawing new strokes, and using the Snap function is a great way to quickly generate a lot of variations on the fly.
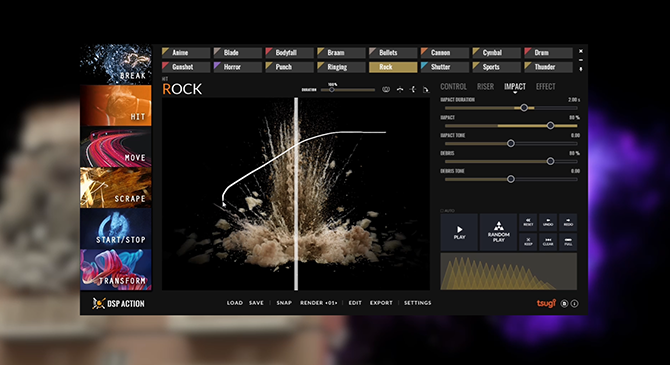
When bigger chunks of the building collide with each other, the Hit-Rock and the Break-Explosion patches were used. In the latter, the size of the circles over which we draw control the size of the explosions produced. Since there is a lot happening in the first half of the sequence, we mostly drew over the smaller circles, but for the final collapse we drew on the big ones for more impact. The Break-Wall patch was used again, with more Crashes this time.
Even by using a limited number of patches for this sequence, we were able to quickly create total mayhem!
Magic Vortex
Finally, we designed the sound of the big magical vortex aspiring the building. Synthetic-sounding patches were chosen to contrast with the debris, which were already taking a lot of space sonically.
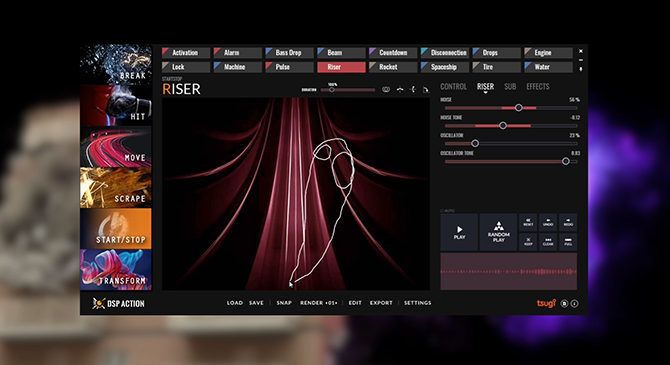
By drawing circularly in the Move-Whoosh patch, and adding a bit of Modulation (and a lot of Flanger) we were able to generate the perfect sonic movement for the vortex. It was completed by using the Start/Stop-Riser patch, which produced a progressively harsher sound as we drew higher on the y-axis. In both cases, we highlighted the dispersion of the vortex simply by drawing downward at the end of the sequence.
This concludes our quick tutorial. Should you need even more destructive power for your video or for your game, the Break category offers many other patches! To learn more about how generative graphics control sounds in DSP Action, you can also read this post. And for more examples, check out the sound design behind this battle scene and this glitchy video.


